How to Remove & Install an Outboard Propeller
Posted by MarineCopkingo on
Whether you want to swap propellers, replace a damaged one, inspect the oil seal or remove debris, replacing an outboard propeller is pretty simple.
No special tools are needed to get the job done. Typical toolbox items such as a ratchet and sockets, screwdrivers and pliers will suffice. An outboard prop swap/reinstall can usually be done in a matter of minutes. Here’s how to remove and replace an outboard engine propeller.
Removing an Outboard Propeller
Step 1. Bend back the tabs on the lock-washer securing the propeller nut, or remove the cotter pin securing the propeller castle nut.
.jpg)
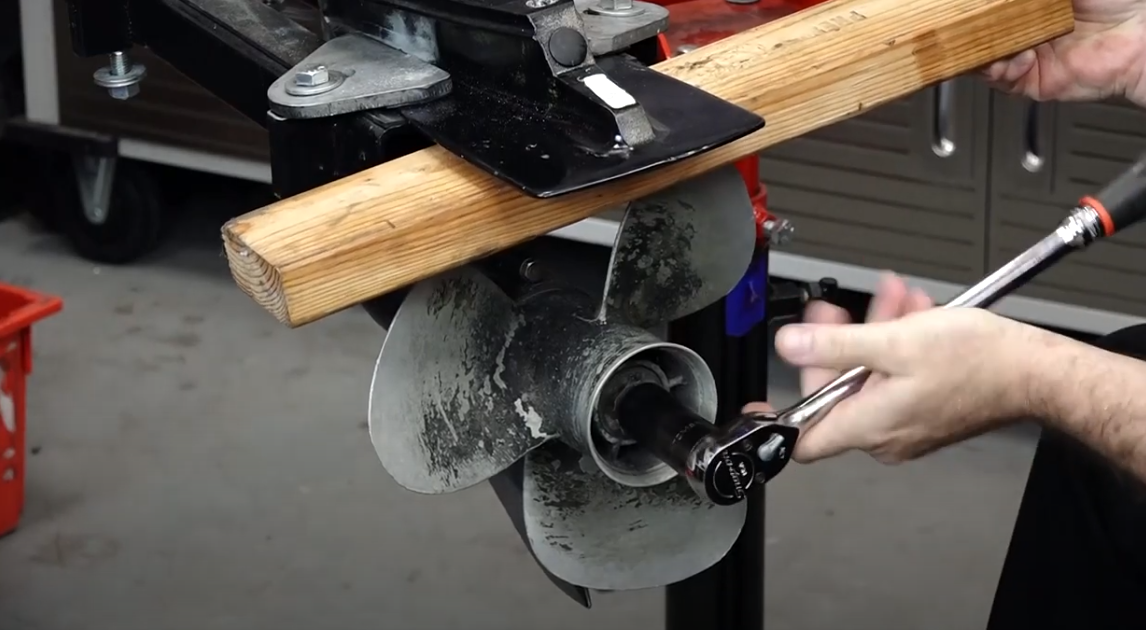
Step 2. Place a block of wood between the propeller’s blades and the ventilation plate to keep the prop from turning.
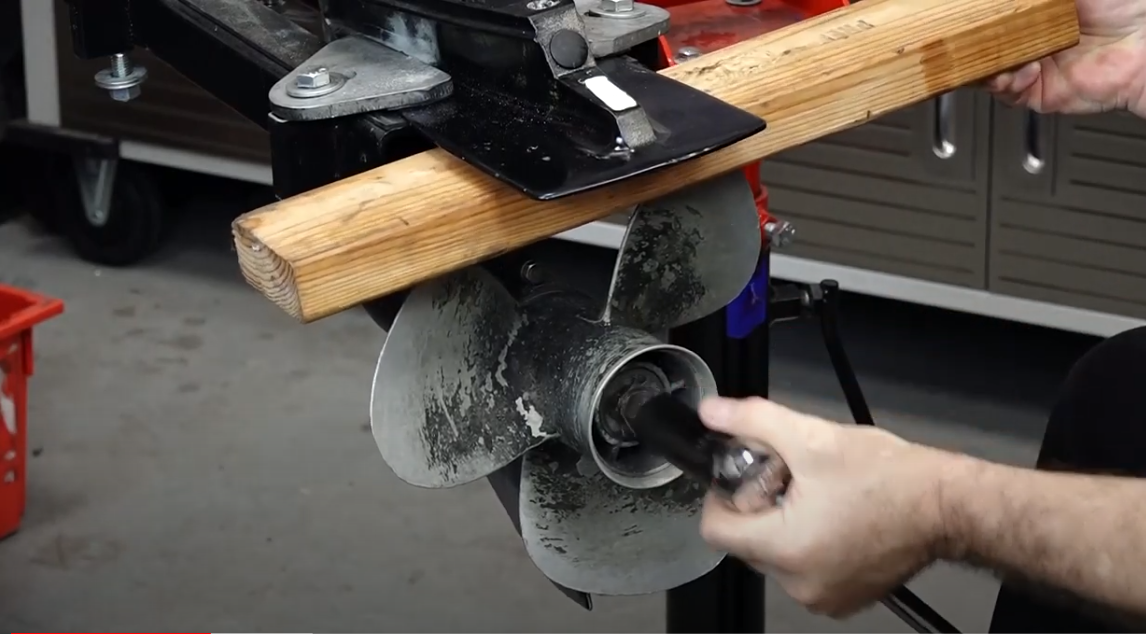
Step 3. Remove the propeller nut or castle nut, and pull the propeller off the prop shaft.
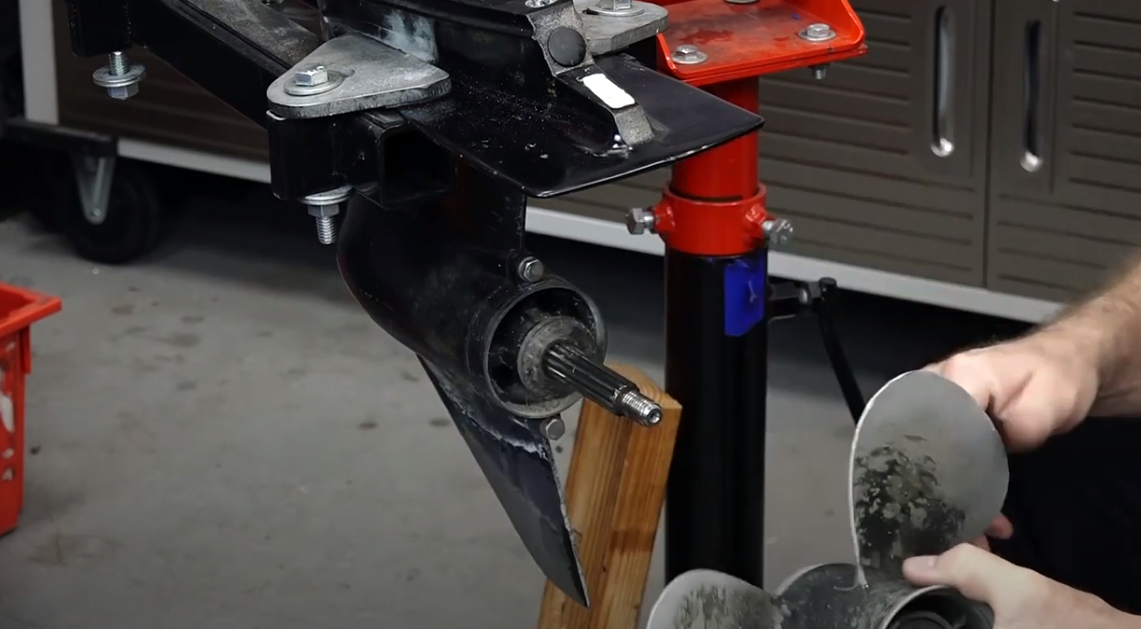
Step 4. Remove the thrust washer, then inspect it and replace it if it’s worn.

NOTE: You may have to pry the thrust washer slightly to break it free.
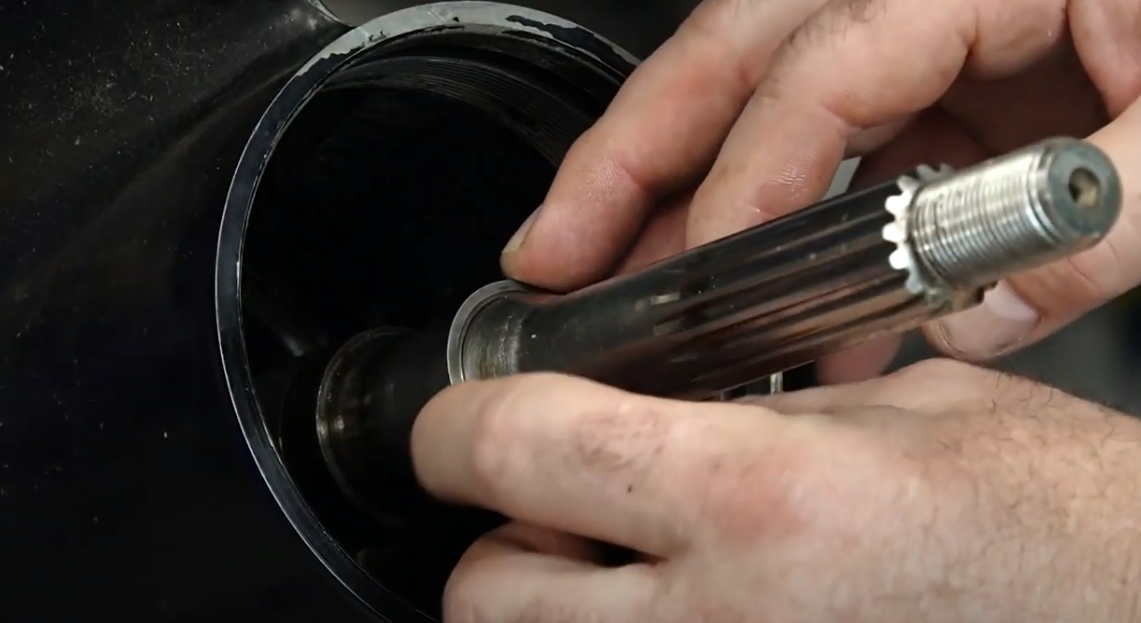
With the prop and thrust washer removed, you can inspect the oil seal for wear and remove any debris such as old fishing line tangled around the prop shaft.
Installing an Outboard Propeller
Step 5. Lubricate the prop shaft with PTFE marine grease, then reinstall the thrust washer.
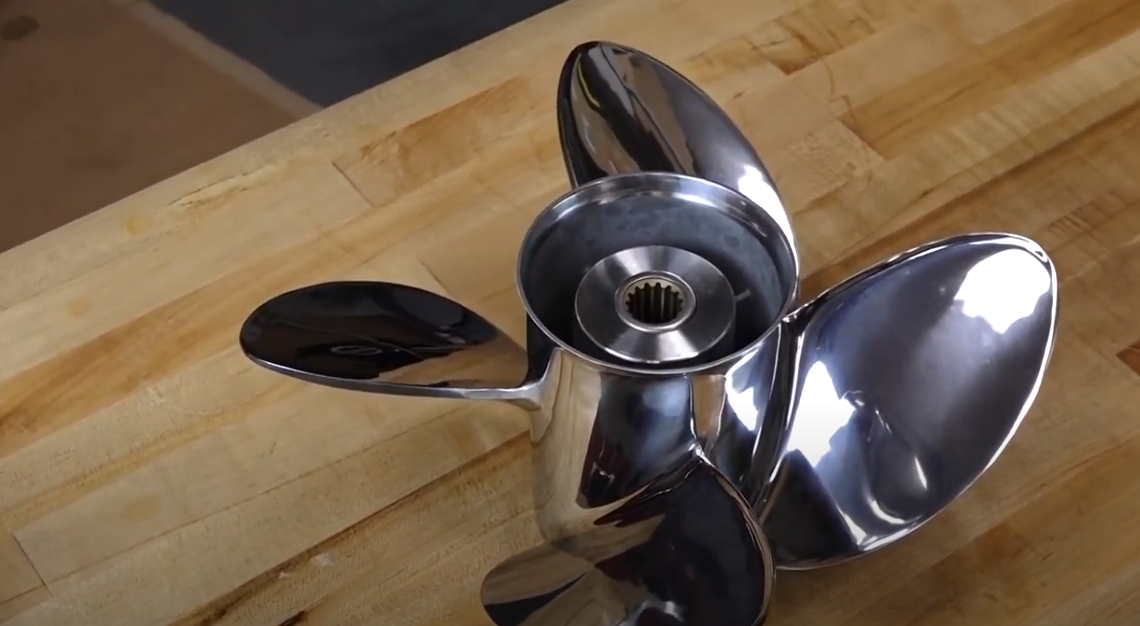
Step 6. Install the new propeller or reinstall the one you have.
Step 7. Reinstall the lock-washer and prop nut, or the castle nut.
Step 8. Place a block of wood between the propeller’s blades and the ventilation plate to prevent the prop from turning.
Step 9. Torque the propeller nut or castle nut to the manufacturer’s specifications.
Step 10. Bend the tabs on the lock-washer back over the propeller nut, or reinstall the cotter pin to secure the propeller castle nut.
Three Tips For Looking After Your Propeller
Tip #1. The golden rule for caring for a prop is to try not to hit anything. Obviously the less the prop strikes bottom surfaces or any solid objects, the longer it’ll last.
Tip #2. Try running a couple of different propellers. Your outboard or sterndrive came fitted with a “one-size-fits-all” prop that the manufacturer knows will perform adequately across a wide range of applications, but that doesn’t mean it’s the ideal prop for your boat. Try out 3-blade and 4-blade propellers, or test a higher or lower pitch prop for better results. A prop that’s well-matched to a boat will be less prone to cavitation or blade deformation and damage.
Tip #3. Removing the prop at least once a year gives you the opportunity to inspect and repair any propeller damage, and remove any debris that could damage the prop shaft oil seal. By regularly removing the propeller and greasing the prop shaft, you’ll minimize the chances the prop will get stuck on the shaft, and it’ll make removing it the next time even easier.
Copkingo Marine Parts Store!